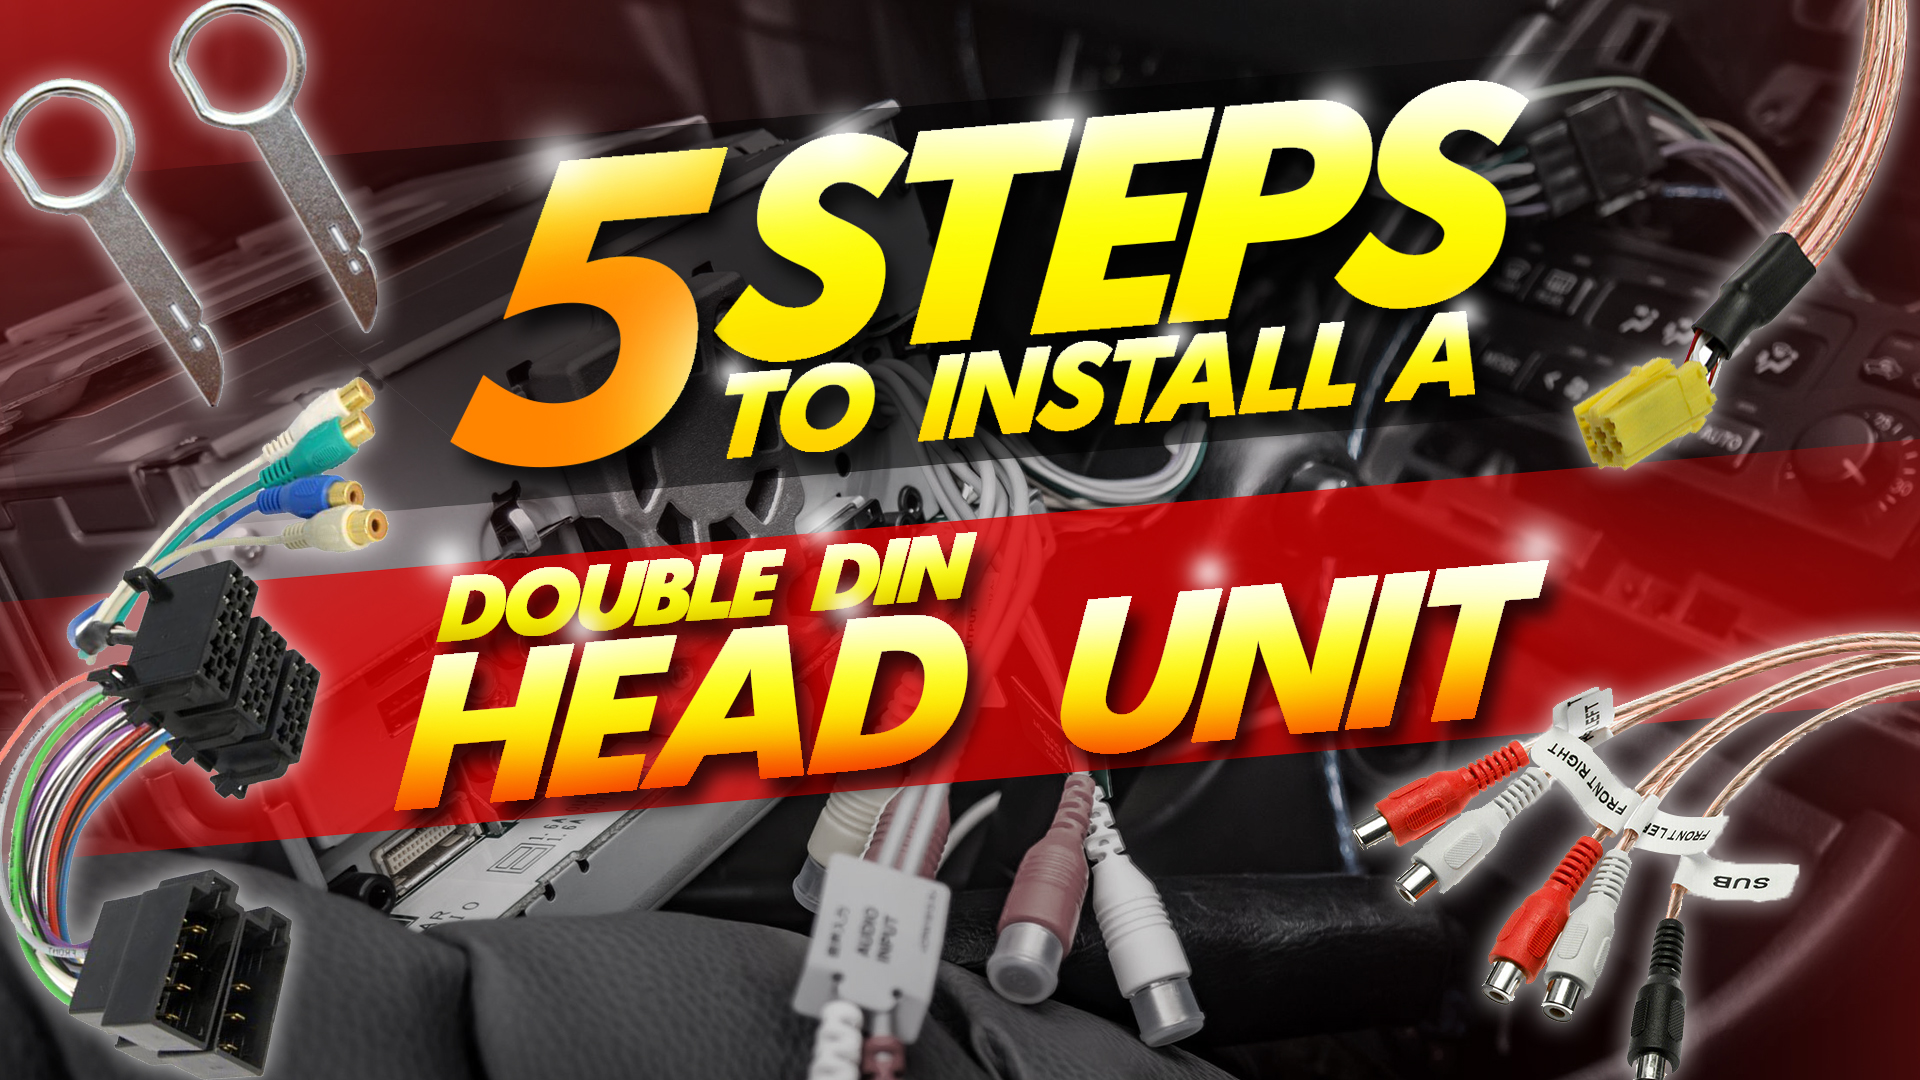
Every equipment needs to be handled and installed in the right way. It is the key point to get all things is the correct working order. You cannot mess up with the wiring, or there are chances that you might damage the whole package. Installing a Double DIN head unit is a simple and easy to follow 5 step process, which is explained below in detail.
Note: This guide is a general one that can show you directions to install a double din head unit, you have to see the user manual you received along with your head unit to install it properly.
1. Wiring
First of all, you will need to plug the stereo wiring connectors from the rear panel of the new radio unit into corresponding leads of wiring harness adapter. Make sure you pair up the wires of matching colors. The yellow wire is for battery; black wire is for ground, blue is for power antenna, red for accessories and the orange wire notifies the stereo when headlights are on. Furthermore, the white wire goes to the left-front speaker, gray wire is for right-front speaker, the green wire is for left-rear speaker, and the purple wire is for the right-rear speaker. Be careful while connecting the speaker wires as each of them has positive and negative polarity. Once you have matched all the wires, you will need to strip their ends using a wire stripper. You will have to twist together the wires and join them with the help of crimp caps or electrical tape. Make sure you have the right tools for this because you could make a lot of mess otherwise. One important thing here is that most of the Double DIN head units do not support DVD and if you want that you will have to connect the pink handbrake wire to the top of stereo directly.
2. Preparing the car
The next step is to pull the hood release level from the driver’s side of dashboard. You will have to loosen the bolt that you will find on the negative battery cable using a wrench. You will want to prevent blowing a fuse in case something goes wrong; by lifting the cable from the battery and putting it aside.
3. Removing the stock car stereo
Next, you will have to remove the stock car stereo. You will have to pry open the gear lever with the help of a flathead screwdriver; you will see the air conditioning control. Pull forward the air conditioning control panel and remove the air vents from around the head unit. Removing the air vents is the only way you can reach up to the bolts that are holding together the stereo. When you are done removing all the screws, the next step would be to pull out the radio from the dock, detach the wiring and antenna cable.
4. Connecting the new Double DIN head unit
Here is the step of which we have gone through all the trouble earlier. Once the mounting brackets fix with the new stereo, you will have to plug in the wiring harness connector into the outlets on the top right corner of the Double DIN head unit’s rear panel. There is an FM antenna outlet on the lower left corner of the back panel of the stereo, where you will have to plug in the antenna cable lead. The last step here would be to connect the wiring harness adapter to the wiring harness of the car that you will find in the empty dock. In case, you are going to a modern and a fancy head unit; you will have other things to connect to GPS antenna, a microphone for Bluetooth hands-free and iPod connector. It would be wise to put all these wires in the glove box where they are safe and out of reach.
5. Testing the new car stereo and putting everything back to its place
When all the wires are connected, and things are on their workable location, it is now the time to put back the stereo in the empty dock. Another thing worth mentioning here that you might need to get a Double DIN mounts adapter or an installation dash kit as per your vehicle. The dock is the right place to put all the adapters. Careful placement is required here so no wiring is disturbed and none of your efforts go to waste. Before you close down everything, it is always preferable to check the installation. For this, you will have to reconnect the battery that was disconnected earlier to avoid blowing a fuse. Once the car is in accessory mode and the power is up, you can check the sound. Here, you can also adjust the bass and fader using the balance controls. You can also change the speakers balance here. Try turning the headlights on and off to check if the new stereo screen and the backlights fiddle with its brightness automatically.
Check for the iPod connector, CD, and Bluetooth of the device. Once you are sure that everything is working fine and there is nothing that you have left out, turn off the car, and disconnect the battery. Do not forget to reconnect the battery once you have finished refitting the trim pieces.
All this process will take hardly an hour if you have the right tools and a detailed manual. Manuals usually come with the packaging of the Double DIN head unit, so this would not be the issue here. However, if any one of the above-given steps seems hard to understand, then you must get some professional do this task. Not only they have the right tools, but they also know the key points of installing a stereo system.
Image Credit: Flickr.com.